When you first start doing genealogy you may not have many paper documents or photos. But as word gets out in your extended family that you are doing genealogy, relatives may begin to bring you their records.
First, you may get an email from a distant cousin with some useful information about your common ancestors. Then copies of the letters your 5th great-grandparents wrote to one another during the Civil War may arrive in your mailbox. This may be followed by a family tree hand-written by your great-aunt on the back of a roll of gift wrap.
Following a trip to the family history library, you may return home with stacks of hand-written notes and photocopies. You step outside one morning to discover a box of vintage photos someone has dropped on your doorstep. After attending a genealogy conference you return home with a bulging binder of notes and ideas.
Even though you rejoice over each of these amazing treasures, what will you do with all?
Here are steps you can take in just one week to set off on the path to organized genealogy.
- Set goals, build habits, and track time
- Tame your paper monster
- Whip your digital collection into shape
- Create a genealogy workspace
- Set up a filing system
- Establish a research log
Day 1 on the Path to Organized Genealogy

Set goals, build habits, and track time.
It is in the climbing of mountains that we become stronger.
Genealogy is certainly a mountain to climb. The image below illustrates the theory of ancestors doubling each generation. Using this model, you would have 2,046 ancestors in 10 generations.

Let’s imagine each person has a birth record, a marriage record, a death record, 6 census records, a land document or immigration record, and a couple photos – that would be 24,552 documents for you to keep track of!
And that does not even take into account your ancestor’s siblings, children, or grandchildren!
Goals
But even the biggest mountains are climbed just one step at a time. So set goals to climb your genealogical mountain one step at a time.
As you read this blog post, keep a pen in your hand. Jot down the ideas that speak to your heart.
On your calendar record a larger goal for each month. For example, photograph your family cemetery or interview your great-aunt.
Time
Next, set aside a specific amount of time each day that you will work on that goal. It may only be 10, 20, or 30 minutes per day, but that will add up over the year. You will climb that mountain step-by-step.
Habits
Lastly, make genealogy a daily habit. The easiest way to start a new habit is to hinge it to an existing habit. For most people eating 3 meals a day is a habit, so you could add your new habit of spending 30 minutes per day doing genealogy to your daily routine by doing it right after breakfast. Set a timer. You can do this!
“Woah,” you say, I am already a genealogist! Genealogy already eats up most of my daytime and nighttime hours! Okay then. What about genealogy ORGANIZATION? Could you add 30 minutes a day to your daily routine to spend actually organizing your genealogy collection?
Decide when you will do it. Book an appointment with yourself and keep it just as you would a doctor’s appointment.
Now you’re on the way up your genealogical mountain!
(For additional genealogy goal-setting ideas see this BillionGraves blog post: 50 Tips for Genealogy Goal-Setting.)
Day 2 on the Path to Organized Genealogy

Gather every scrap into one place.
If your genealogical documents or photos are scattered about, today is the day to bring them into one place. First, clear off a large open space in which to work. It may be a tabletop, bed, or even the floor. Ideally, it should be tucked away from little running feet and spilled milk.
Next, fish your records out of drawers, the boxes in your attic, bins in the basement, or between the stacks of mail and put them all in your cleared space.
Here are some of the items you may be rounding up:
- Vital records: birth, death, or marriage records
- Boxes of photos
- Naturalization and immigration records
- Land Deeds
- Maps
- County histories
- Digital files you have printed
- Scrapbooks
- Vacation memorabilia
- Postcards
- Family mementos (play tickets, graduation certificates, etc.)
- Emails you have printed
- Handwritten letters
- Photo albums
- Scraps of paper with research leads and ideas
- Hand-written family trees
Then take some sheets of paper and write your family surnames across the top. Fill out one for each couple in your family tree. Lay the papers out evenly over your open space. Now begin sorting. Since you have written the names across the top of each page, you will still be able to see them as you begin piling your photos and documents on the papers.
When you have your piles sorted, tip-toe out of the room and shut the door! You’ll be back in a few days.
And just like that, you’re on your way! That’s day two!
Day 3 on the Path to Organized Genealogy

Slay your digital dragons.
Now that your paper monster is locked behind a closed door, it’s time to slay your digital dragons.
Just as you brought all your genealogy papers into one place, you are now going to bring all your genealogy digital files and photos into one place. First, figure out where you would like the photos and documents to be when you are done. Would you like them on a family tree or in files on your computer? Get the space ready.
If you are filing them on your computer, label each folder with your family surnames just as you did for the paper sorting exercise.
Now go get those pictures and digital records! You may find them on your computer desktop or on your phone. Maybe they are filed under “family pics” or “family reunion”. Some may be in Evernote, on Facebook, BillionGraves, or FamilySearch.
Here are some of the digital records you may be gathering:
- GEDCOM files
- Photos
- Emails
- Census records
- Website addresses
- Family stories
- Bookmarked webpages
- Lists of DNA matches
- Photos of gravestones
- Email addresses of cousins or other relatives
Put each record in the correct folder. Don’t worry about organizing within the folder – that will come later. For now, just get them in there.
Day 3 down. You got this!
Day 4 on the Path to Organized Genealogy
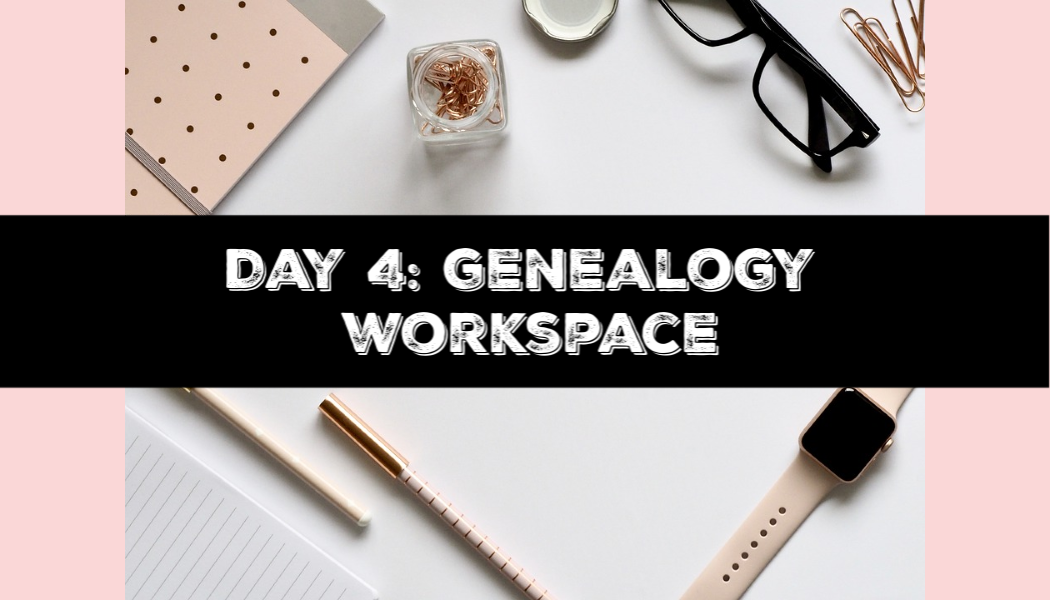
How can we find our ancestors if we can’t find our glasses?
Day 4 is for shopping! And organizing your genealogy workspace. First, figure out how and where you will be storing your genealogical records.
The ways to sort your genealogy are as different for each person as snowflakes. There are no two alike. But here are some ideas:
- Set up a work surface where you can spread out charts or maps
- Create binders and put a FamilySearch fan chart on the cover as a “table of contents”. This BillionGraves blog post gives detailed tips on how to create a genealogy binder with a different color divider for each of your grandparents that matches the fan chart on the cover.
- Keep photos in archival quality boxes or albums so they won’t damage the images.
- Set up a filing cabinet or portable file box with file folders labeled with each couple’s surname.
- Arrange your books of family histories on your shelves alphabetically.
- Set up a computer area with your files nearby so you can digitize your photos and documents.
What to Buy
Next, head out to the store – or place online orders – to get your supplies. Ideas of items that may be helpful for organizing your genealogy include:
- Binders
- Acid-free page protectors
- Archival safe photo boxes
- File folders
- Labels
- Tabbed dividers
- Archival safe pens to label photos
- Hanging file folders
- Computer paper
- Printer cartridges
- Label maker
- Sticky notes
- Container for pens and pencils
- Bag for cemetery trips filled with supplies (see this blog post for ideas of what to include: 15 Item Grab-n-Go Cemetery Bag)
Now for the fun part. Set up your genealogy workspace with your new supplies. Label drawers with your new label maker. Fill binders with page protectors and add the tabbed dividers. Write family surnames of each couple on your files.
Now step back and look at your new space. Day 4 checkmate and you’re looking good!
Day 5 on the Path to Organized Genealogy
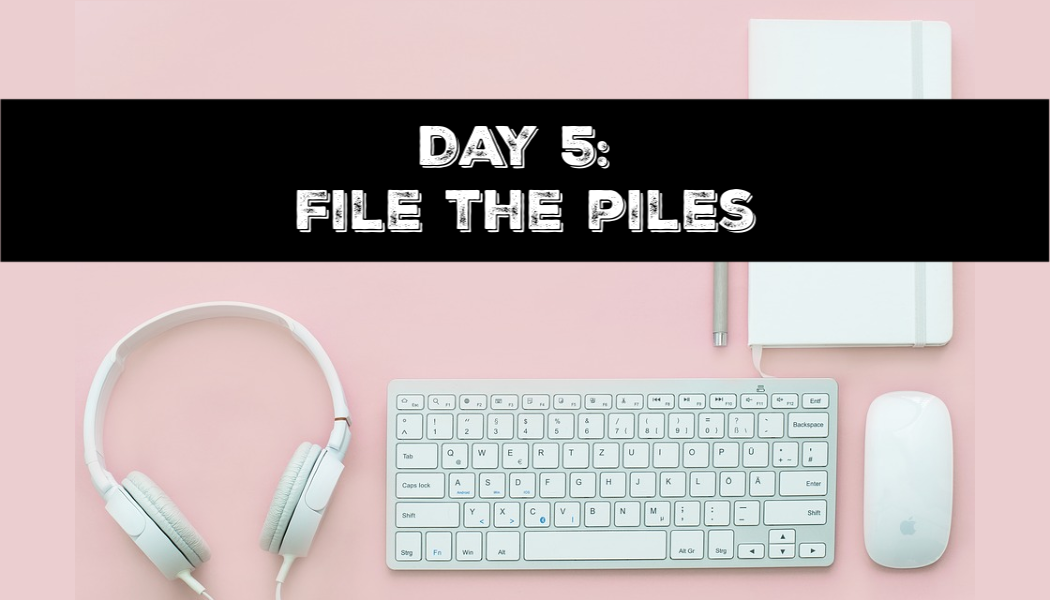
Set up a filing system.
Open the door to the room with your waiting piles because it’s time to file those piles.
On Day 2 you sorted your photos and documents onto papers with family surnames written across the top. Today you can slide them into the files you labeled on day 4. Presto! Done.
My favorite way to set up my genealogy files is to put solidly proven documents, family group sheets, and photos in binders. Each binder is labeled with a family surname. The records go into page protectors.
Then any documents or photos that are still hunches or guesses go into a file folder in a filing cabinet. Once again, they are labeled with the family surnames. I keep the files next to my computer so they are easy to access while I am doing research. As I figure out how the people in the files fit into my family tree, the records get moved from files to binders.
Genealogical Proof Standard
How do you know if your records are “solidly proven” or still “hunches or guesses”? Use the Genealogical Proof Standard – a set of rules that were established by the Board for Certification of Genealogists. Here they are:
- Reasonably exhaustive research has been conducted.
- Each statement of fact has a complete and accurate source citation.
- The evidence is reliable and has been skillfully correlated and interpreted.
- Any contradictory evidence has been resolved.
- The conclusion has been soundly reasoned and coherently written.
Source: FamilySearch Wiki
This blog post about Thomas Jefferson shows the steps taken to find a “solidly proven” source for his gravestone. It follows the Genealogical Proof Standard. Then using the BillionGraves Plus Nearby Graves feature, Jefferson’s relatives that are buried in close proximity to him are found on a GPS-marked map of the cemetery.
Put simply, it’s all about sources. Find as many sources as you possibly can about each individual.
That said, now let’s get your files organized. If you don’t have a lot of records it won’t be necessary to subdivide the folders. But if you have an abundance, subdivide them by husband/wife, by years, or by document types.
Next, do the same thing with the digital files you compiled on day 3. On your computer find the photos you pulled into files. Add some subfolders for years or for the children of each couple. Then sort the photos into the subfolders.
If you have a family tree you should also add the photos to each person’s memories. If you don’t have one yet, you can set up a free family tree on FamilySearch.
You’re almost there! Isn’t it amazing to be feeling so organized?
Day 6 on the Path to Organized Genealogy
Mark the trail you have traveled so you won’t get lost.
Let’s take a lesson from Hansel and Gretel. As they wandered through the forest they left a trail of bread crumbs so they could tell where they had traveled when they made their return trip.
Create a research log to track the paths you have traveled through on your research. There’s no sense in going back to the same genealogical library to look at the same book or microfilm you looked at 3 years ago.
A research log will help you to see in a glance where you have searched, what you have found, and create strategies for the future.
You can create a research log digitally on a spreadsheet. Or use this free printable research log form. It has places to record your ancestor’s names, dates, places, sources found, places you looked, repository locations, and notes.
You’re almost to the summit of your genealogical mountain! You’re awesome!
Day 7 on the Path to Organized Genealogy

The time to add a new marriage record is when a wedding announcement arrives.
Isn’t it feeling fabulous to have your genealogy so beautifully organized? It brings such a feeling of peace to know that you will be able to find your records at a moment’s notice.
Now let’s make a plan to keep them that way. When you use a document or look at a photo, put it right back where it belongs.
When a wedding announcement arrives in your mail for your cousin, niece, or grandchild record the names and dates on your family tree as soon as possible. Do the same thing with baby announcements. Do it for obituaries too – they are a really great source of family history information.
Also, when you go to your family reunion take along your newly organized binders. They will prompt others to talk about family history and you will easily be able to gather more information.
Who knows, someone there may see you with your neat genealogy binders and decide that you will be the memory keeper for their box of treasures. And you will know just how to fit them into your organized genealogy collection!
At the end of the week as you look around at your progress, give yourself a pat on the back and a selfie high-five! Do a little happy dance! You did it!
Happy Organizing!
Cathy Wallace